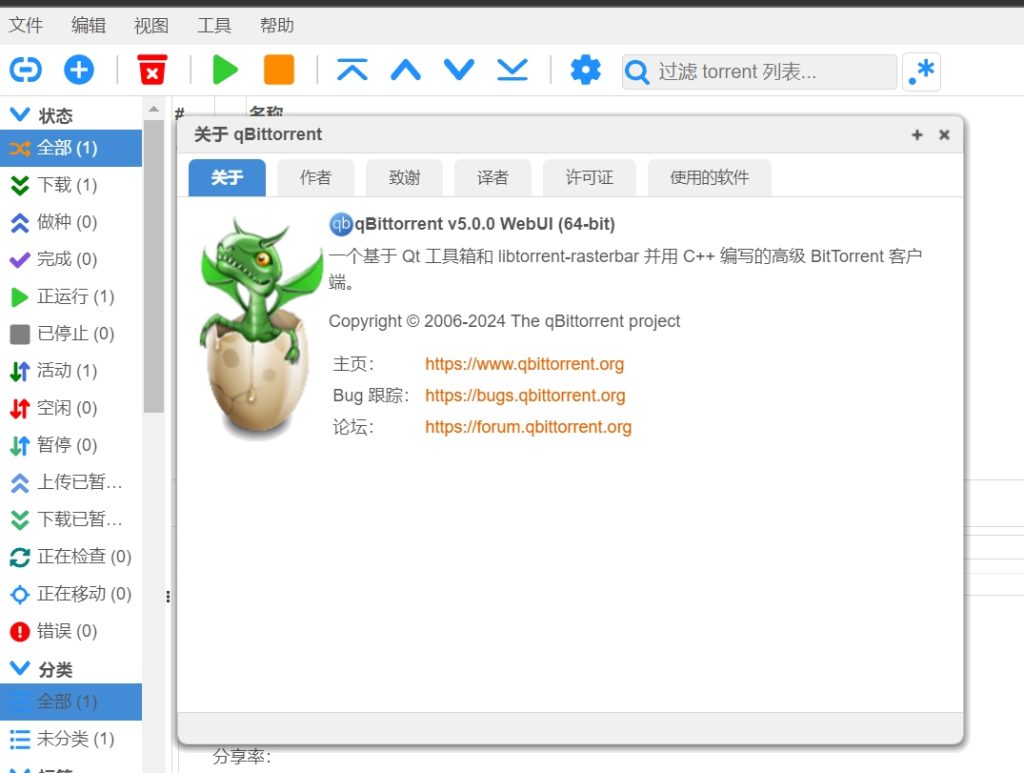
qBittorrent功能
- 精致的 µTorrent 式用户界面
- 无广告
- 高度集成且可扩展的搜索引擎
- 在多个 Torrent 搜索网站同时进行搜索
- 特定类别的搜索请求(例如书籍、音乐、软件)
- 带有高级下载过滤器(包括正则表达式)的 RSS 提要支持
- 支持许多 Bittorrent 扩展:
- 磁力链接
- 分布式哈希表(DHT)、对等交换协议(PEX)、本地对等发现(LSD)
- 私人种子
- 加密连接
- 等等……
- 通过使用 AJAX 编写的 Web 用户界面进行远程控制
- 与常规 GUI 几乎相同
- 顺序下载(按顺序下载)
- 对种子、跟踪器和对等点的高级控制
- Torrent 排队和优先级
- Torrent 内容选择和优先级
- 带宽调度器
- Torrent 创建工具
- IP 过滤(兼容 eMule 和 PeerGuardian 格式)
- 兼容 IPv6
- UPnP / NAT-PMP 端口转发支持
- 适用于所有平台:Windows、Linux、macOS、FreeBSD、OS/2
- 提供约 70 种语言版本
- 官网地址:https://www.qbittorrent.org/
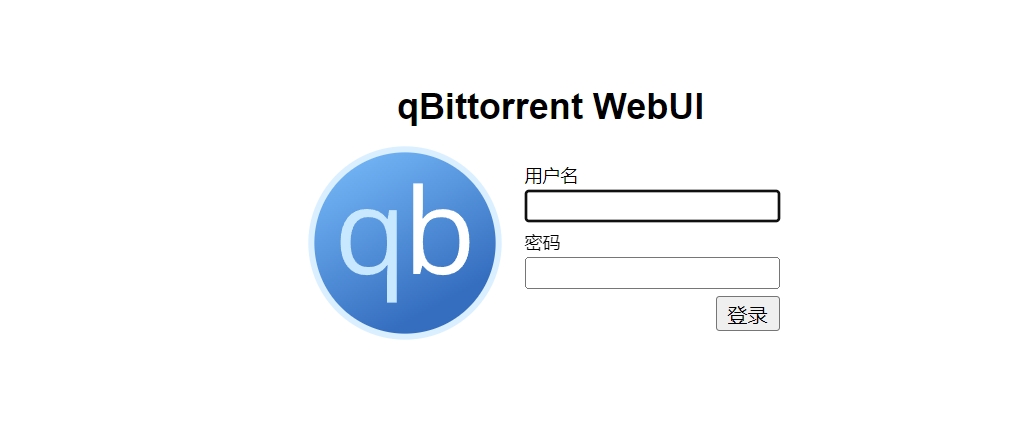
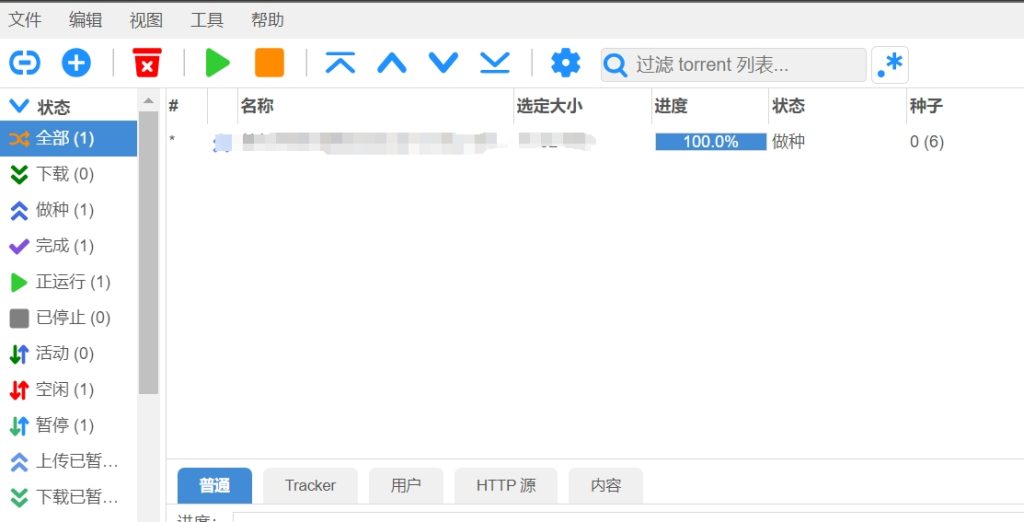
一,项目展示:

二,准备工作:
笔记的的系统是:inux zxb 6.8.0-47-generic #47-Ubuntu SMP PREEMPT_DYNAMIC Fri Sep 27 21:40:26 UTC 2024 x86_64 x86_64 x86_64 GNU/Linux
记得先更新一下系统:sudo apt update && sudo apt upgrade -y
具体如何安装部署docker请参考我的另一篇文章;https://www.hao0564.com/3086.html
三,开始安装部署qbittorrent:
- 官网给的docker-compose安装部署如下:
---
services:
  qbittorrent:
    image: lscr.io/linuxserver/qbittorrent:latest
    container_name: qbittorrent
    environment:
      - PUID=1000
      - PGID=1000
      - TZ=Etc/UTC
      - WEBUI_PORT=8080
      - TORRENTING_PORT=6881
    volumes:
      - /path/to/qbittorrent/appdata:/config
      - /path/to/downloads:/downloads #optional
    ports:
      - 8080:8080
      - 6881:6881
      - 6881:6881/udp
    restart: unless-stopped
- 官网给的docker cli
docker run -d \
  --name=qbittorrent \
  -e PUID=1000 \
  -e PGID=1000 \
  -e TZ=Etc/UTC \
  -e WEBUI_PORT=8080 \
  -e TORRENTING_PORT=6881 \
  -p 8080:8080 \
  -p 6881:6881 \
  -p 6881:6881/udp \
  -v /path/to/qbittorrent/appdata:/config \
  -v /path/to/downloads:/downloads `#optional` \
  --restart unless-stopped \
  lscr.io/linuxserver/qbittorrent:latest
- 相关参数
容器使用运行时传递的参数进行配置(如上文所述)。这些参数用冒号分隔,<external>:<internal>分别表示。例如,-p 8080:80将从容器内部公开端口,以便从容器外部的80端口上的主机 IP 进行访问。8080
-p 8080 | 网页用户界面 |
-p 6881 | TCP 连接端口 |
-p 6881/udp | udp连接端口 |
-e PUID=1000 | 对于 UserID – 请参阅下面的解释 |
-e PGID=1000 | 对于 GroupID – 请参阅下面的解释 |
-e TZ=Etc/UTC | 指定要使用的时区,请参阅此列表。 |
-e WEBUI_PORT=8080 | 对于更改 Web UI 的端口,请参阅下面的说明 |
-e TORRENTING_PORT=6881 | 更改 tcp/udp 连接的端口,请参阅下面的说明 |
-v /config | 包含所有相关的配置文件。 |
-v /downloads | 磁盘上下载的位置。 |
--read-only=true | 使用只读文件系统运行容器。请阅读文档 |
- 用户/组标识符
当使用卷(-v标志)时,主机操作系统和容器之间可能会出现权限问题,我们通过允许您指定用户PUID和组来避免此问题PGID。
确保主机上的任何卷目录都归您指定的同一用户所有,这样任何权限问题都会像魔术一样消失。
在此例中PUID=1000,PGID=1000要找到您的,请使用id your_user如下方法:
id your_user
示例输出:
uid=1000(your_user) gid=1000(your_user) groups=1000(your_user)三,注意事项:
- 笔者在安装官网给的docker cli 部署后,出现权限问题,查看一下user id如下:
root@zxb:~# id
uid=0(root) gid=0(root) groups=0(root)- 修改的文件如下:
docker run -d \
  --name=qbittorrent \
  -e PUID=0 \
  -e PGID=0 \
  -e TZ=Asia/Shanghai \
  -e WEBUI_PORT=8080 \
  -e TORRENTING_PORT=6881 \
  -p 8080:8080 \
  -p 6881:6881 \
  -p 6881:6881/udp \
  -v /path/to/qbittorrent/appdata:/config \
  -v /mydocker/downloads/Downloads:/downloads `#optional` \
  --restart unless-stopped \
  lscr.io/linuxserver/qbittorrent:latest
部署完成后,访问ip+端口后,笔者的是:192.168.100.102:8080

- 默认账号密码,请查看dockers安装日志
docker logs 687d33892fcd完成安装,下载正常,可以添加tracker 来提速,国内的tracker:https://www.yaozuopan.top/index.php/archives/1014/
国外:https://github.com/ngosang/trackerslist
搜索插件地址:https://github.com/qbittorrent/search-plugins?tab=readme-ov-file

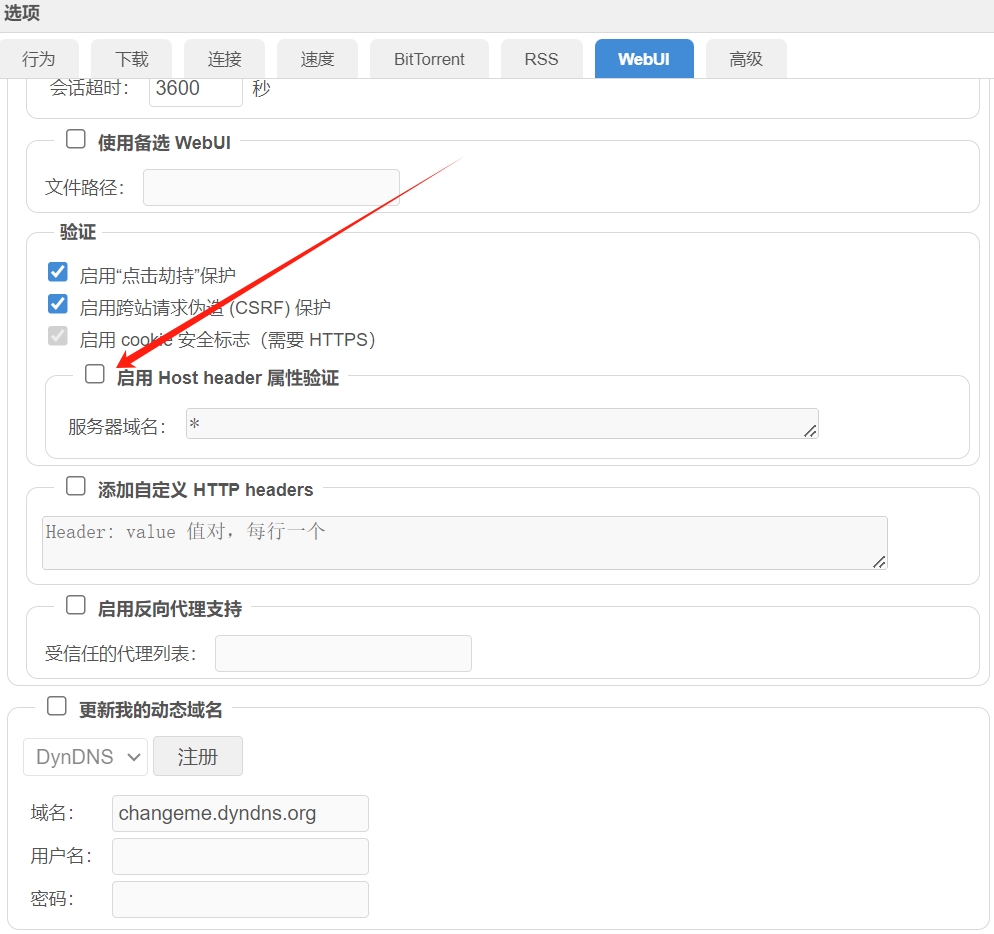
- 远程web访问配置,在Webui页面,去掉“启用Host header属性验证”

CentOS7安装qbittorrent 最新版:https://www.hao0564.com/1472.html
