
Nextcloud是一款开源免费的私有云存储网盘项目,可以让你快速便捷地搭建一套属于自己或团队的云同步网盘,从而实现跨平台跨设备文件同步、共享、版本控制、团队协作等功能。
官网网站:https://nextcloud.com/
一,部署准备条件:
- 1,操作系统Operating System
Ubuntu 18.04 LTS (recommended)
Red Hat Enterprise Linux 8 (recommended)
Debian 10 (Buster)
SUSE Linux Enterprise S
erver 15
openSUSE Leap 42.1+ CentOS 8
- 2,数据库Database
MySQL 5.7+ or MariaDB 10.2+ (recommended) Oracle Database 11g (only as part of an enterprise subscription) PostgreSQL 9.5/9.6/10/11 SQLite (only recommended for testing and minimal-instances
- 3,Webserver
Apache 2.4 with mod_php or php-fpm (recommended) nginx with php-fpm
- 4,PHP Runtime
7.2
7.3 (recommended)
7.4 (recommended)
- 5,内存Memory
Memory requirements for running a Nextcloud server are greatly variable, depending on the numbers of users, apps, files and volume of server activity.Nextcloud needs a minimum of 128MB RAM, and we recommend a minimum of 512MB. - 6,对于数据库的额外要求Database requirements for MySQL / MariaDB
The following is currently required if you’re running Nextcloud together with a MySQL / MariaDB database:InnoDB storage engine (MyISAM is not supported) “READ COMMITED” transaction isolation level Disabled or BINLOG_FORMAT = ROW configured Binary Logging) For Emoji (UTF8 4-byte) support
二,宝塔面板安装:
- 1,本实例操作系统:cnetos7.9
[root@localhost ~]# cat /etc/redhat-release
CentOS Linux release 7.9.2009 (Core)
宝塔面板安装详细见官网,说的很详细:https://www.bt.cn/download/linux.html
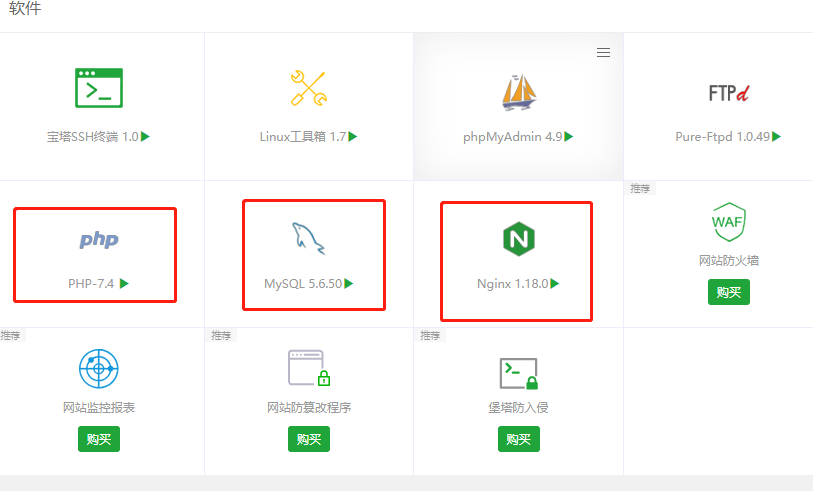
- 2,在宝塔面板一键安装安装LNMP,如果用于生产建议采用编译安装,本实例已经安装好了
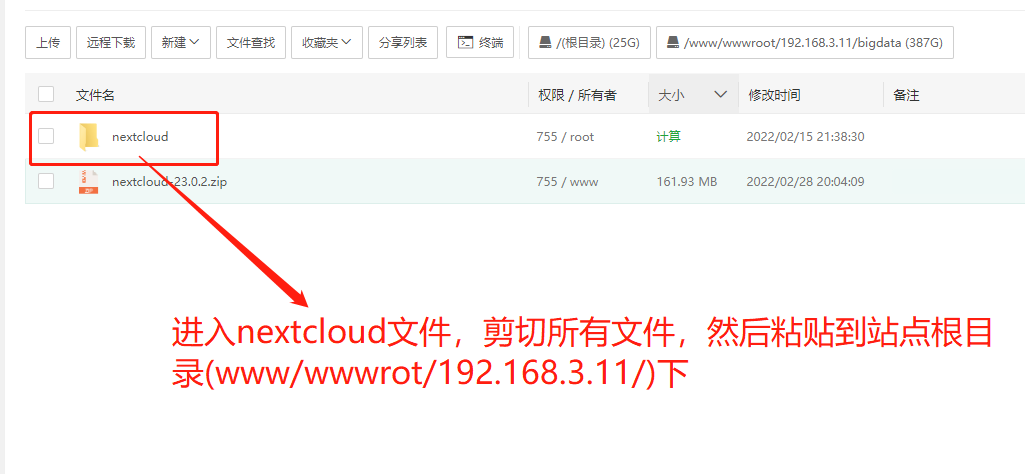
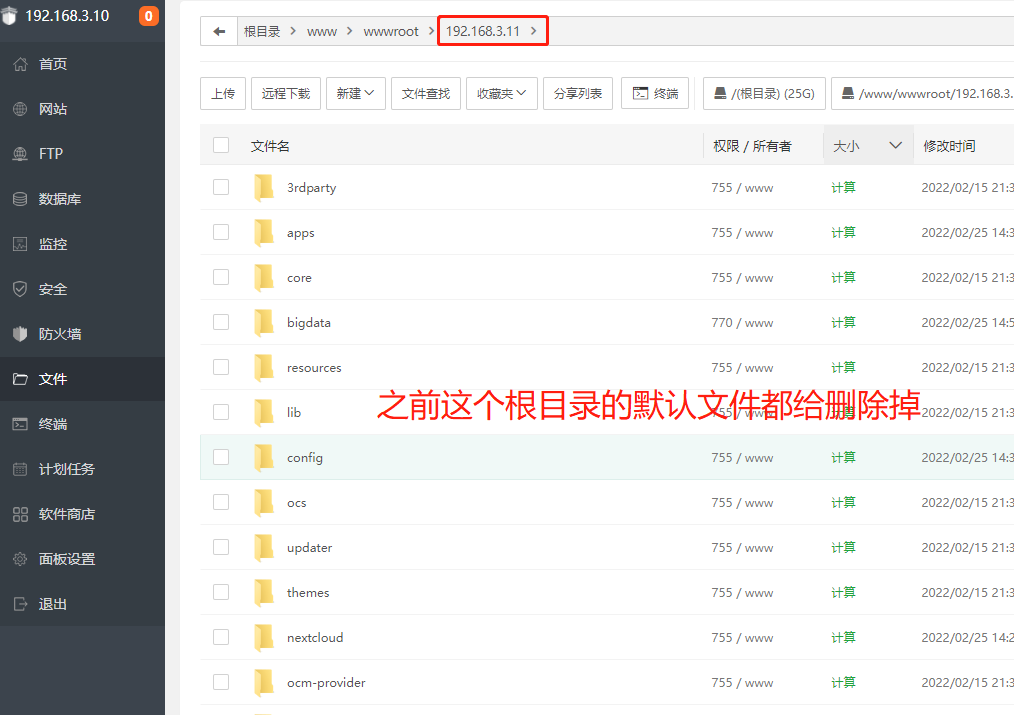
3,添加站点,实例是在内网操作的,用的是IP,如果是外网vps可以使用域名
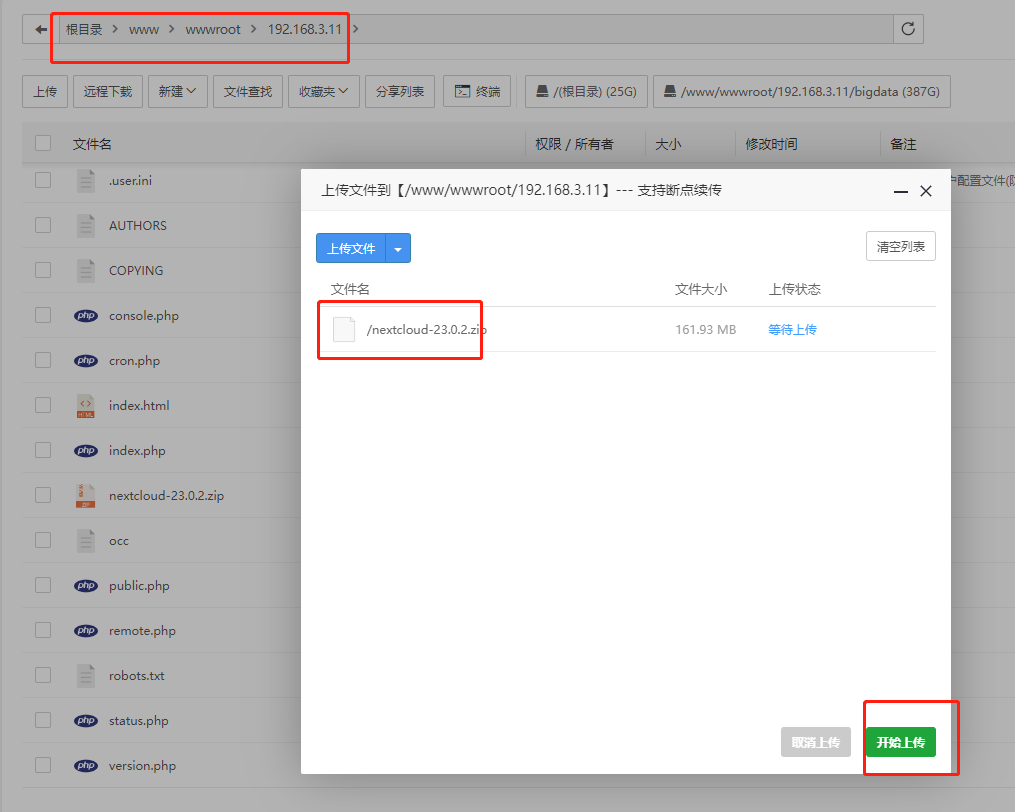
下载好nextcloud通过宝塔面板上传上服务器,官网下载地址:
https://nextcloud.com/install/#instructions-server

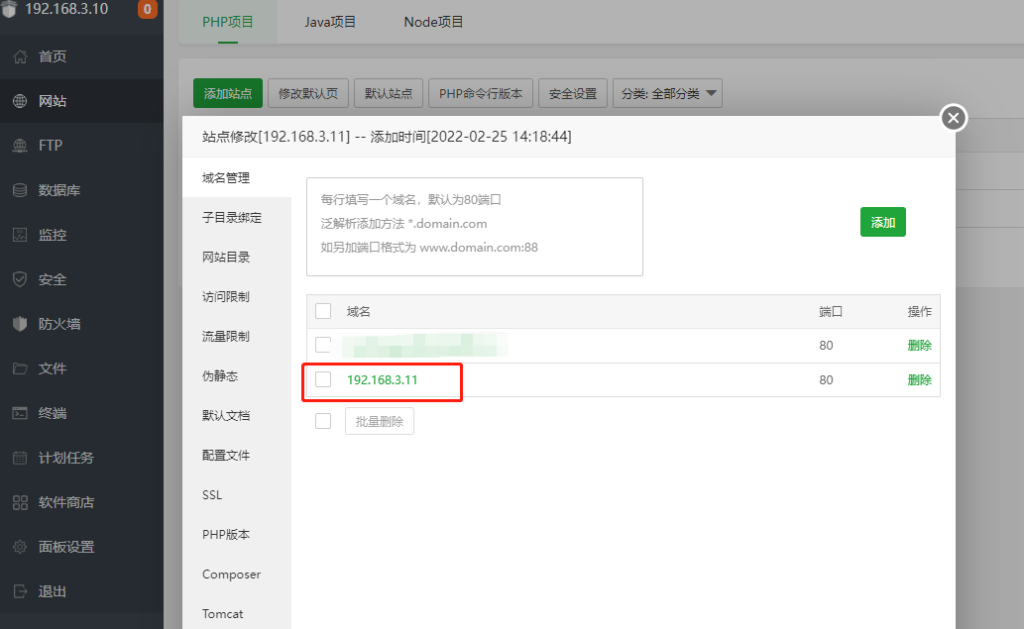
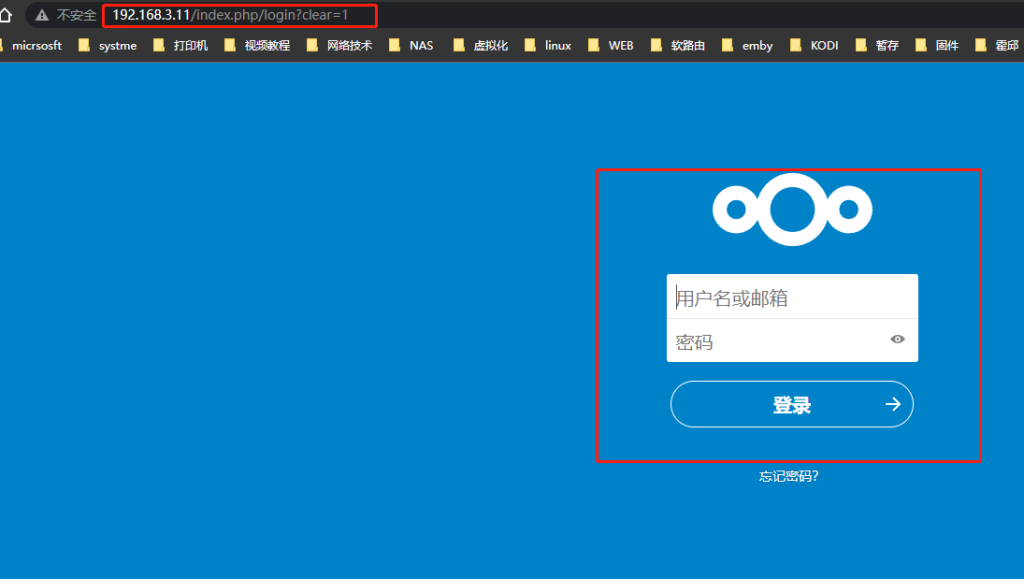
- 4,访问刚刚新建的站点,这里是IP地址:http://192.168.3.11

- 5,输入之前设置的账号和密码
进入后台后,首先设置一下中文

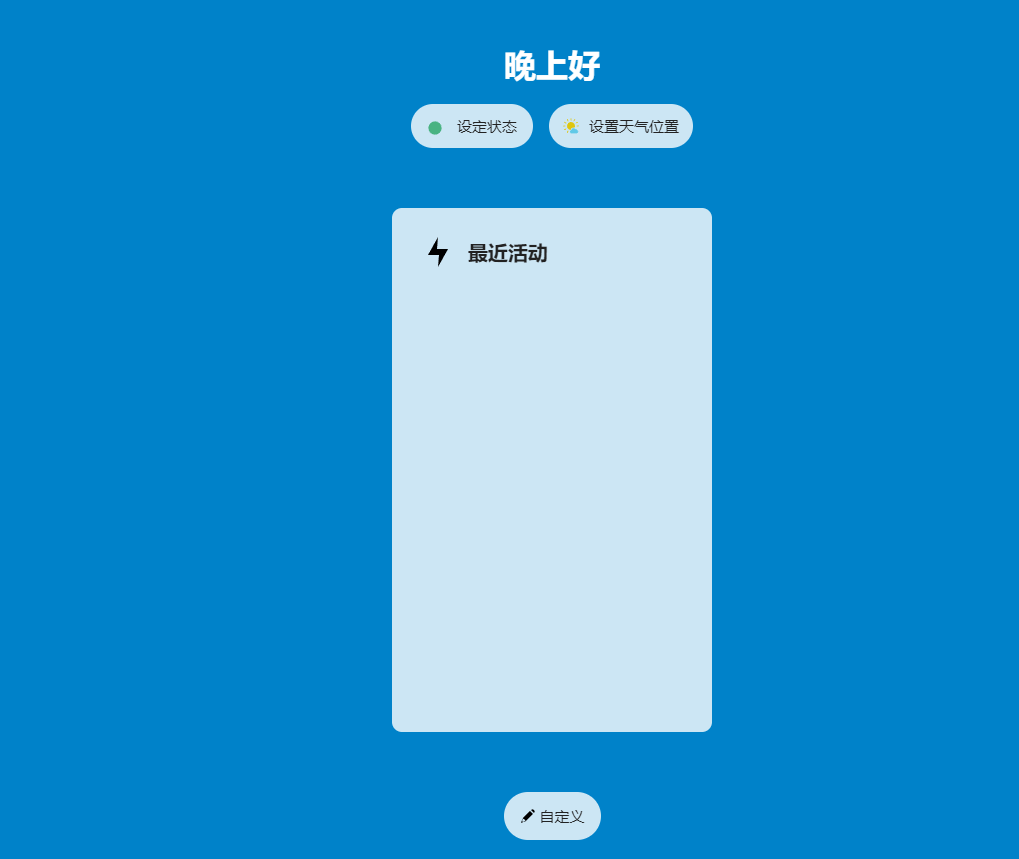
到这里,我的Nextcloud就简单的搭建完成了,同时支持pc和手机客户端,具体可以到官网上去下载
yes!
谢谢!